Classic Clarified Butter
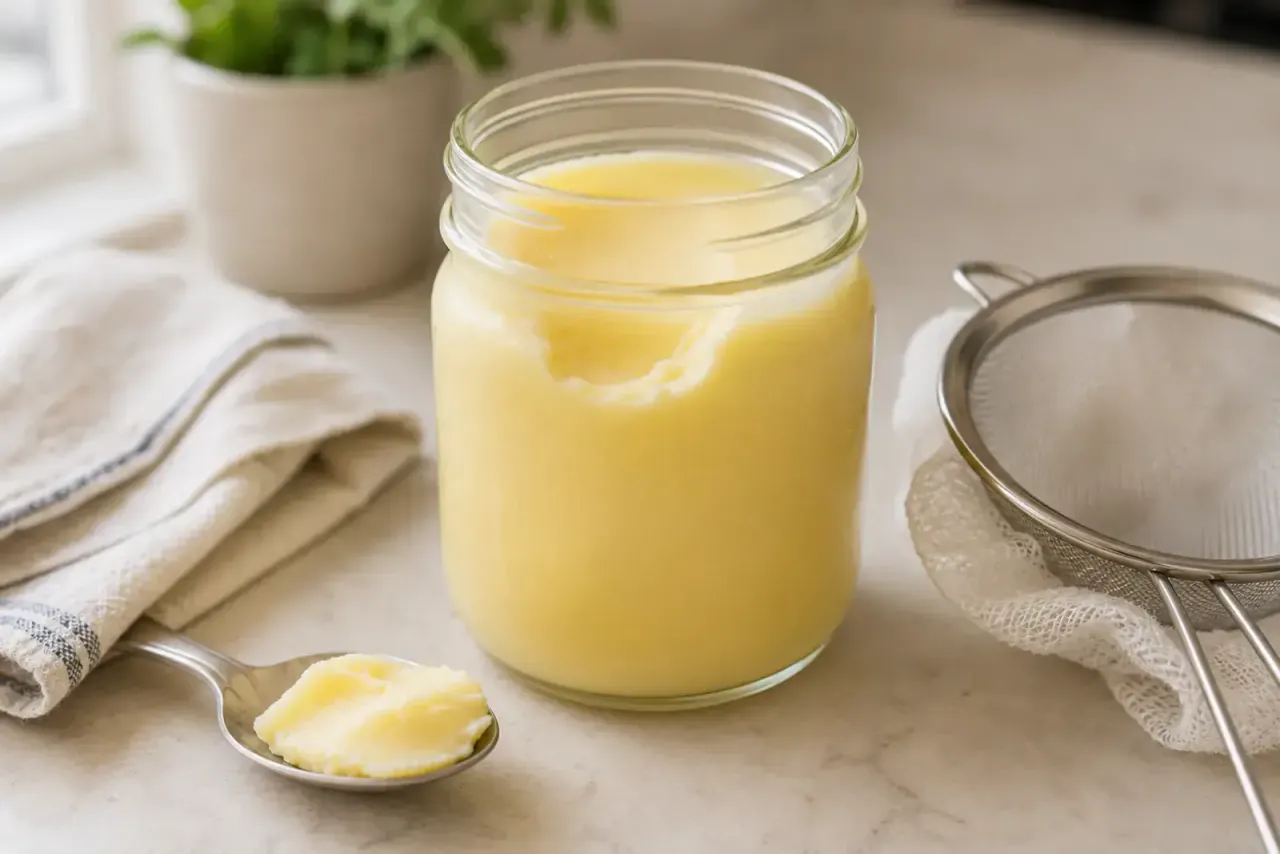
Melt the butter gently and skim away the foam to uncover clear, pale-golden butterfat. Its clean flavor lets a hot pan do the work without any toasted, nutty notes.
Recipe link
Prep time5 min
Cook time20 min
Total time1 HOUR
- Course
- Condiments, Cooking Fats
- Cuisine
- French, European
- Difficulty
- Easy
- Est. calories / serving
- 120
Ingredients
- 1 pound high-quality unsalted sweet-cream butter (cut into cubes)
Instructions
Instructions
- Prepare the Equipment: Make sure the saucepan, spoon, strainer, cheesecloth, and storage jar are completely clean and dry.clean, dry equipment
- Melt the Butter: Add the cubed butter to a heavy-bottomed saucepan. Melt uncovered over the lowest practical heat without stirring.1 lb unsalted butter
- Allow the Butter to Separate: As the butter melts, it will divide into three visible parts: white foam on the surface, clear golden butterfat in the middle, and pale milk solids settling on the bottom.melted, separated butter
- Simmer Gently: Maintain a very quiet simmer for 12–18 minutes. The butter should bubble softly as the water evaporates, but the milk solids should remain pale.separated butter
- Skim the Surface: Use a shallow spoon or fine skimmer to remove the white foam from the surface. Work gently and avoid disturbing the milk solids on the bottom.surface foam
- Check for Doneness: The clarified butter is ready when the middle layer is clear, the sputtering has nearly stopped, and the milk solids at the bottom remain cream-colored or pale yellow. There should be no toasted or nutty aroma.clear butterfat, pale milk solids
- Stop Before Browning: Remove the saucepan from the heat before the bottom solids begin turning golden brown. Let it stand undisturbed for 3–5 minutes so the layers settle.finished clarified butter
- Separate the Clear Butterfat: Slowly ladle the clear butterfat through a cheesecloth-lined fine-mesh strainer into a clean, dry, heat-safe jar. Stop before reaching the milky sediment at the bottom of the saucepan.clear clarified butter
- Cool Completely: Let the clarified butter cool uncovered until it reaches room temperature.cooled clarified butter
- Seal and Refrigerate: Cover the jar tightly and refrigerate. Use a clean, dry spoon each time to prevent moisture or food particles from entering the butter.finished clarified butter
Notes
- Clarified Butter Versus Ghee: Clarified butter is removed from the heat before the milk solids brown. Ghee is cooked longer until those solids caramelize and give the butterfat a deeper, nuttier flavor.
- Flavor Goal: Proper clarified butter tastes clean and buttery. Toasted, hazelnut-like, or caramel aromas mean it has started moving into ghee territory.
- Butter Choice: Unsalted sweet-cream butter gives clarified butter its cleanest flavor. Cultured butter can be used, but its natural tang produces a more pronounced finished taste.
- Low Heat Matters: Gentle heat gives the layers time to separate without browning the solids.
- Do Not Stir: Stirring redistributes the milk solids and makes the butterfat more difficult to separate cleanly.
- Skimming: Remove the foam carefully, but do not obsess over every small bubble. The final straining step removes remaining particles.
- Ladling Versus Pouring: Ladling gives you more control and helps leave the pale bottom sediment behind. Pouring is faster but increases the chance of transferring milk solids.
- Color: Finished clarified butter should be clear and pale to medium gold—not amber or brown.
- Not Guaranteed Dairy-Free: Clarifying removes most milk solids, but homemade clarified butter may still contain trace amounts of milk protein.
- Storage: Refrigerate in a tightly sealed container for up to 3 months, or freeze for up to 6 months. Pantry storage is less reliable than it is for fully cooked ghee because clarified butter may retain slightly more moisture.
- Using Clarified Butter: Use it for sautéing, pan-searing, frying, roasting, hollandaise, béarnaise, seafood, eggs, vegetables, potatoes, rice, crepes, and brushing onto grilled bread.
- Serving Suggestions: Use with lobster, crab, shrimp, scallops, clams, fish, steak, chicken, roasted vegetables, potatoes, corn, eggs, pancakes, or warm dinner rolls.
Nutrition (Approximate Per Serving)
Yield
About 1⅔ cups clarified butter — Serving size: 1 tablespoon
- Calories
- 120
- Carbohydrates
- 0 g
- Protein
- 0 g
- Fat
- 14 g
- Saturated Fat
- 9 g
- Polyunsaturated Fat
- 0.5 g
- Monounsaturated Fat
- 4 g
- Cholesterol
- 36 mg
- Sodium
- 1 mg
- Potassium
- 1 mg
- Fiber
- 0 g
- Total Sugars
- 0 g
- Vitamin A
- 425 IU
- Vitamin C
- 0 mg
- Calcium
- 0 mg
- Iron
- 0 mg
Equipment
- Heavy-bottomed saucepan
- Shallow spoon or fine skimmer
- Ladle
- Fine-mesh strainer
- Cheesecloth
- Heat-safe glass storage jar with lid
- Measuring cup with pouring spout (optional)