Sea Salt Cultured Butter
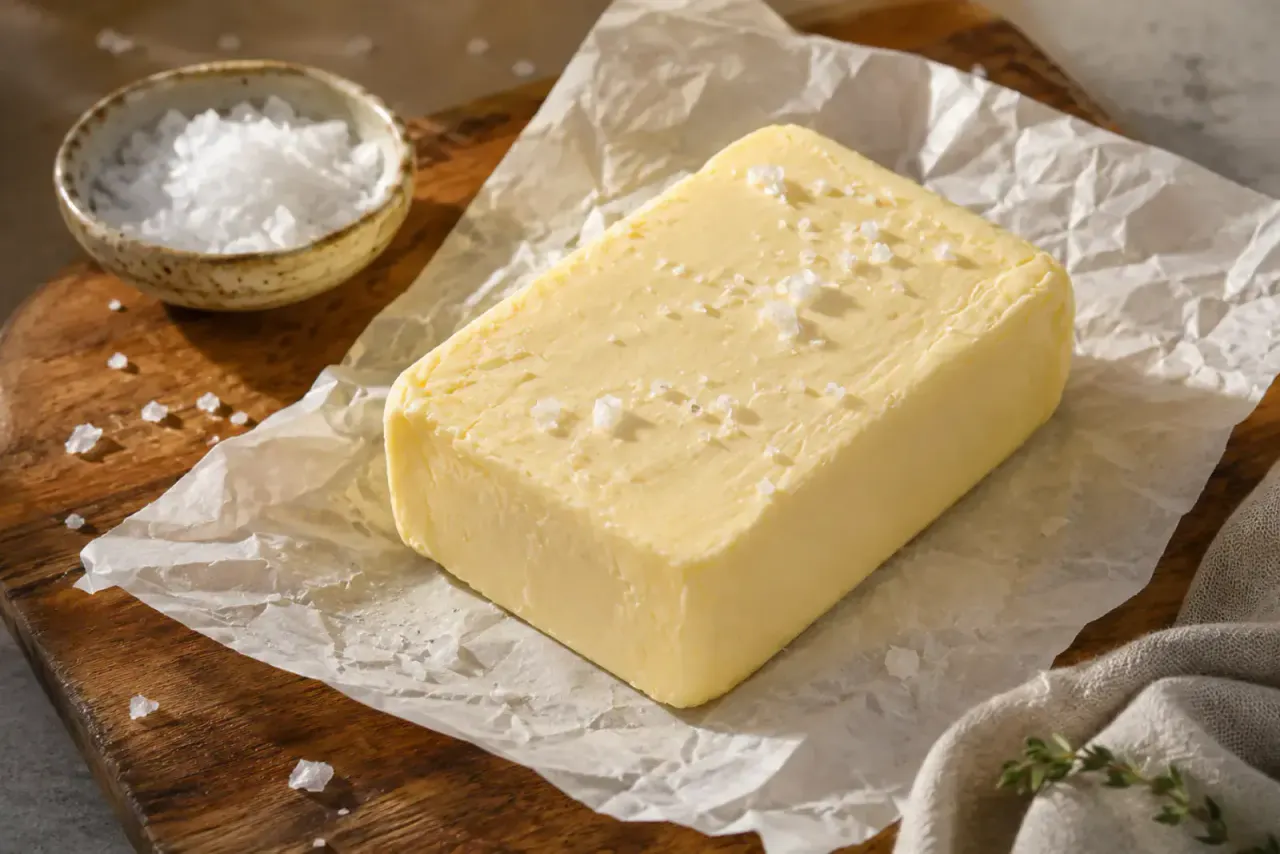
Cream cultures until gently tangy before it is churned, washed, and worked into a smooth, dense butter. A little sea salt sharpens its deep dairy flavor for spreading on warm bread.
Recipe link
Prep time30 min
Cook time0 min
Total time21 HOURS 30 MINUTES–28 HOURS 30 MINUTES
- Course
- Condiments, Spreads
- Cuisine
- European, French Inspired
- Difficulty
- Medium
- Est. calories / serving
- 102
Ingredients
Cultured Cream
- 4 cups high-quality heavy cream (pasteurized, preferably not ultra-pasteurized and without gums or stabilizers)
- ¼ cup cultured buttermilk (with live active cultures)
Sea Salt Butter
- ½ teaspoon fine sea salt
- 4–6 cups ice water (for washing the butter)
Optional Finish
- flaky sea salt (for serving)
Instructions
Instructions
- Sanitize the Equipment: Wash the culturing container, utensils, mixer bowl, strainer, and storage containers thoroughly with hot, soapy water. Rinse and dry completely.clean culturing and butter-making equipment
- Culture the Cream: Pour the heavy cream into a clean 2-quart glass container. Stir in the cultured buttermilk until evenly combined. Cover the container.4 cups heavy cream, ¼ cup cultured buttermilk
- Ferment the Cream: Let the cream stand at a steady room temperature of approximately 70–75°F for 18–24 hours. It is ready when noticeably thickened and pleasantly tangy, with a texture similar to loose crème fraîche.cultured cream
- Chill for Churning: Refrigerate the cultured cream for 1–2 hours, until it reaches approximately 55–60°F. It should feel cool but remain fluid enough to churn.chilled cultured cream
- Prepare the Mixer: Transfer the cultured cream to the bowl of a stand mixer fitted with the whisk attachment. Cover the mixer loosely with a clean kitchen towel or use a splash guard because the mixture will splatter when it separates.chilled cultured cream
- Churn the Cream: Beat on medium-high speed. The cream will first thicken into whipped cream, then become grainy and curdled. Reduce the speed as the butterfat begins separating from the liquid and continue until yellow butter grains gather together and distinct buttermilk remains in the bowl, about 5–10 minutes.cultured cream
- Drain the Buttermilk: Pour the mixture through a fine-mesh strainer set over a bowl. Press the butter gently with a rubber spatula to release as much buttermilk as possible. Reserve the cultured buttermilk for another use.churned butter and cultured buttermilk
- Begin Washing the Butter: Transfer the butter to a clean mixing bowl and pour in about 1 cup ice water. Press and fold the butter firmly against the side of the bowl with a spatula or butter paddle.churned butter, 1 cup ice water
- Repeat the Washing: Drain the cloudy water and add fresh ice water. Continue pressing, folding, draining, and replacing the water until it remains clear, usually 4–6 washes.remaining ice water
- Remove the Moisture: Drain the final wash completely. Press and fold the butter repeatedly against the bowl until no visible water or milky liquid is released. Blot the surface with a clean lint-free towel if necessary.washed cultured butter
- Add the Sea Salt: Sprinkle the fine sea salt evenly over the butter. Knead and fold until the salt is fully distributed and the butter becomes smooth and cohesive.½ tsp fine sea salt
- Taste and Adjust: Spread a small amount of butter on a piece of bread or a plain cracker. Add another small pinch of fine sea salt only if the butter needs a stronger salted finish.salted cultured butter, additional sea salt as needed
- Shape the Butter: Divide the butter into two equal portions. Press each into a compact rectangular block, eliminating air pockets as you work. Wrap tightly in parchment paper, followed by reusable wrap or foil. The butter can also be packed firmly into a covered butter crock.finished sea salt cultured butter
- Chill Until Firm: Refrigerate for at least 2 hours before slicing or serving. For the best developed flavor, rest the wrapped butter overnight.shaped cultured butter
- Serve: Slice or spread the butter directly from a compact block. Finish with a few flakes of sea salt when serving if desired.sea salt cultured butter, flaky sea salt
Notes
- Best Final Form: Press this butter into compact blocks or a butter crock. A dense, worked form is better than a whipped texture because it stores well, slices cleanly, measures easily, and preserves the cultured dairy flavor.
- Cream Choice: Use the best pasteurized heavy cream you can find. Cream without gums or stabilizers cultures and separates more predictably. Non-ultra-pasteurized cream generally gives the fullest fresh-dairy flavor.
- Cultured Buttermilk: Check the label for live active cultures. Regular milk mixed with lemon juice is useful as a baking substitute, but it will not culture the cream properly.
- Culturing Temperature: Keep the cream between approximately 70–75°F. A cooler room may require more time. A warmer room may culture the cream more quickly.
- How to Know It Is Ready: Properly cultured cream smells clean, buttery, and pleasantly tangy. It should be visibly thicker. Discard it if you see mold, unusual discoloration, or detect a rotten or otherwise unpleasant odor.
- Churning Temperature: Cream that is too warm can produce greasy butter. Cream that is extremely cold can take much longer to separate. Approximately 55–60°F gives the butterfat enough firmness while allowing it to churn efficiently.
- Do Not Stop at Whipped Cream: Whipped cream is only an intermediate stage. Keep churning until the butterfat completely separates from the cultured buttermilk.
- Wash Thoroughly: Remaining buttermilk shortens the butter’s storage life. Continue washing and pressing until the water stays clear.
- Salt at the End: Add the sea salt only after washing so it is not rinsed away. Fine sea salt distributes more evenly than coarse flakes.
- Sea Salt Balance: The measured salt gives a clean, lightly salted table butter. Flaky salt is better used as a serving finish rather than kneaded heavily into the butter.
- Reserved Buttermilk: Save the cultured buttermilk for Classic Buttermilk-Style Pancakes, biscuits, waffles, cornbread, dressings, marinades, or cakes.
- Best Uses: This butter is especially good for sourdough, toast, biscuits, pancakes, waffles, muffins, dinner rolls, corn, potatoes, vegetables, rice, pasta, pan sauces, and finishing grilled meats or seafood.
- Precision Baking: Homemade butter can vary slightly in water and butterfat content. It works well in general cooking and many baked goods, but commercial high-fat butter is more predictable for croissants, laminated pastry, and other recipes where exact moisture content matters.
- Storage: Store tightly wrapped or covered in the refrigerator for up to 3 weeks. Freeze for up to 3 months, preferably divided into smaller blocks.
Nutrition (Approximate Per Serving)
Yield
About 12 ounces sea salt cultured butter and approximately 2 cups cultured buttermilk — Serving size: 1 tablespoon butter
- Calories
- 102
- Carbohydrates
- 0 g
- Protein
- 0 g
- Fat
- 12 g
- Saturated Fat
- 7 g
- Polyunsaturated Fat
- 0 g
- Monounsaturated Fat
- 3 g
- Cholesterol
- 31 mg
- Sodium
- 52 mg
- Potassium
- 3 mg
- Fiber
- 0 g
- Total Sugars
- 0 g
- Vitamin A
- 355 IU
- Vitamin C
- 0 mg
- Calcium
- 3 mg
- Iron
- 0 mg
Equipment
- Clean 2-quart glass container with lid
- Instant-read thermometer
- Stand mixer with whisk attachment
- Splash guard or clean kitchen towel
- Fine-mesh strainer
- Large mixing bowls
- Rubber spatula or butter paddles
- Measuring cups and spoons
- Cheesecloth (optional)
- Ice
- Clean lint-free kitchen towel
- Parchment paper
- Reusable wrap or foil
- Butter mold or covered butter crock (optional)